
Table of Contents
- What is Backyard Composting?
- Choosing the Right Location for Your Compost Pile
- Essential Tools for Successful Composting
- Understanding the Composting Process
- Green vs. Brown Materials: Achieving the Perfect Balance
- Backyard Composting Guide: Step-by-Step Instructions
- Common Composting Mistakes to Avoid
- Troubleshooting Your Compost Pile
- Accelerating the Composting Process: Tips and Tricks
- FAQ
Ever wondered how to turn your kitchen scraps into garden gold? Backyard composting is the answer! I’m excited to share my easy guide on composting basics that’ll have you recycling garden waste in no time. Whether you’re a green thumb or a novice gardener, this simple process creates rich organic fertilizer right in your backyard.
In this guide, I’ll walk you through everything you need to know about composting. From choosing the perfect spot for your pile to balancing green and brown materials, we’ll cover it all. You’ll learn how to avoid common mistakes and troubleshoot any issues that pop up. By the end, you’ll be well on your way to creating nutrient-rich compost for your garden.
Ready to dive in? Let’s get our hands dirty and start turning waste into wonder!
Key Takeaways
- Backyard composting recycles kitchen and garden waste
- Composting creates free, nutrient-rich organic fertilizer
- Proper balance of green and brown materials is crucial
- Composting reduces landfill waste and helps the environment
- Troubleshooting common issues ensures successful composting
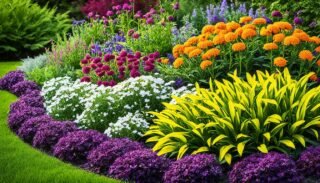
What is Backyard Composting?
Backyard composting turns kitchen scraps and yard waste into rich soil for gardens. It’s simple and rewarding, helping both my wallet and the planet. Let’s dive into what it means and why gardeners like me love it.
Definition and Benefits
Home composting breaks down organic waste into nutrient-rich soil. It’s like nature’s recycling. By composting, I make my own fertilizer, saving money and the environment.
This method also improves soil structure and water retention in my garden.
Environmental Impact
Composting at home cuts down on landfill waste. It’s a key part of sustainable waste management. This reduces greenhouse gas emissions and fights climate change.
Cost Savings for Gardeners
As a gardener, composting saves me a lot of money. I use less fertilizer and other products. The compost I make boosts plant health and cuts gardening costs.
Backyard composting is a great choice. It’s good for the planet and makes great soil for my garden. I’ve seen my plants and garden do better since I started.
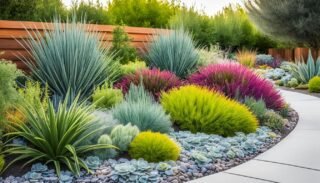
Choosing the Right Location for Your Compost Pile
Finding the perfect spot for your compost bin is key for backyard composting. The right spot can speed up how fast your waste breaks down. I’ve learned that where you put your compost bin matters a lot.
When picking a spot, I look at a few things. Sunlight is important. A spot that gets some sun is best, keeping the pile moist but not too hot. Too much sun dries out the compost, and too little slows down the process.

Good drainage is also crucial. I choose a spot that drains well to stop water from gathering around the compost pile. This keeps the compost aerobic and prevents it from getting smelly and soggy.
It’s also important to pick a spot that’s easy to get to. I put my compost bin where it’s close to my kitchen and garden. This makes adding scraps and yard waste easy, and I can also get the finished compost for my plants.
Here are some more tips for the best compost bin spot:
- Keep it at least 2 feet away from wooden structures to prevent rot
- Place it on level ground for stability
- Ensure there’s enough space around the bin for turning and harvesting
- Consider your neighbors – keep it away from property lines to avoid potential odor complaints
By picking the right spot for your compost pile, thinking about sun exposure and other factors, you’ll do great with composting.
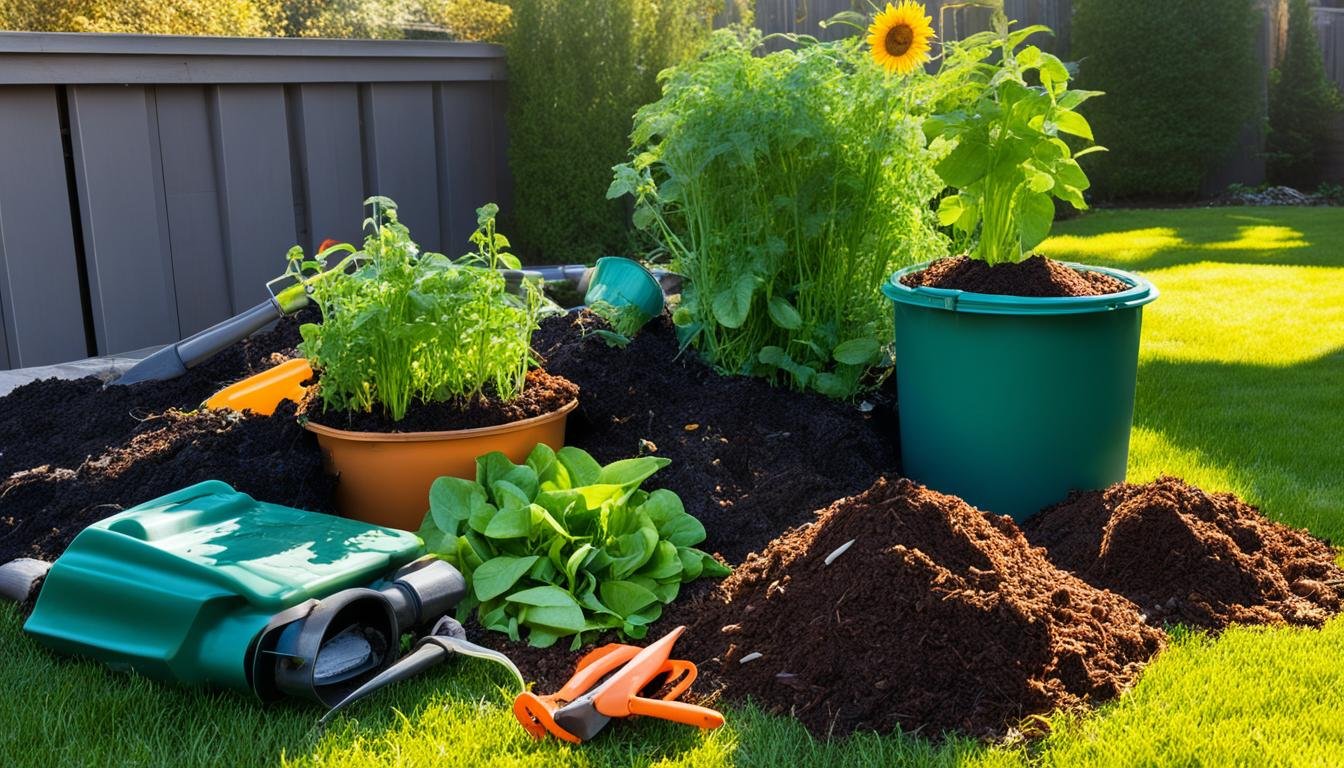
Essential Tools for Successful Composting
Having the right composting tools makes a big difference in making nutrient-rich soil for my garden. Let’s look at some key tools that can make you a pro at composting.
Compost Bins and Tumblers
Compost bins are crucial for composting. I like enclosed bins to keep pests away and keep moisture in. Tumblers are good for easy mixing and quick decomposition. You can pick a size that fits your space and needs.
Pitchforks and Aerators
Good aeration is important for composting. I use a pitchfork to turn my compost often. For bins, a compost aerator tool is great. These tools mix materials and add oxygen, speeding up the breakdown.
Thermometers and Moisture Meters
To check your compost’s health, get compost monitoring devices. A compost thermometer tracks temperature, making sure it’s hot enough to break down well. A moisture meter helps keep the right moisture level, which is key for decomposition.
With these tools, you’ll be ready to make rich, fertile compost for your garden. Remember, good composting tools make the process simpler and more effective, giving you better results faster.
Understanding the Composting Process
I love watching my compost pile change over time. The composting process is a fascinating journey through different stages of decomposition. Let’s dive into how this natural recycling system works.

Composting starts with adding organic materials to the pile. Right away, microorganisms in the compost begin to work. These tiny helpers break down the materials, creating heat in the process.
The decomposition stages are as follows:
- Initial breakdown: Bacteria eat easily digestible materials
- Temperature rise: Heat-loving microbes take over
- Cooling: Fungi and actinomycetes continue decomposition
- Maturation: Compost stabilizes and cools down
During compost maturation, the pile gets smaller and smells earthy. The original materials turn into dark, crumbly humus. This process can take a few months to a year, depending on things like moisture, air, and the materials used.
Understanding these stages helps me manage my compost pile better. It turns waste into valuable soil for my garden. It’s amazing how nature can do this!
Green vs. Brown Materials: Achieving the Perfect Balance
Composting is all about balance. I’ve learned that the key to successful composting is mixing the right compost ingredients. Let’s explore green and brown materials to make the perfect compost mix.
Examples of Green Materials
Green materials are full of nitrogen and feed microorganisms. Here are some common ones:
- Grass clippings
- Fruit and vegetable scraps
- Coffee grounds
- Fresh leaves
Examples of Brown Materials
Brown materials are high in carbon and help with structure and moisture control. Here are some examples:
- Dry leaves
- Straw
- Cardboard
- Wood chips

Ideal Ratios for Faster Decomposition
For quick decomposition, I use a mix of 3 parts brown to 1 part green materials. This balance is key for a good mix of carbon and nitrogen. With this ratio, my compost breaks down quickly and is richer. Remember, composting is an art – adjust your ratios as needed based on your pile’s condition.
Backyard Composting Guide: Step-by-Step Instructions
I’m excited to share my step-by-step guide for compost pile setup. Let’s dive into the process of creating nutrient-rich compost for your garden!
First, pick a sunny spot in your yard for your compost pile. Clear the area and lay down a base of twigs or straw to promote airflow. This is crucial for proper decomposition.
Next, focus on layering compost materials. Start with a layer of brown materials like dry leaves or newspaper. Add a layer of green materials such as grass clippings or fruit scraps. Sprinkle some soil between layers to introduce beneficial microorganisms.
- Layer brown materials (4-6 inches)
- Add green materials (2-3 inches)
- Sprinkle soil
- Repeat layers until pile is 3-4 feet tall
Water each layer as you build the pile. The materials should feel like a damp sponge. Too much moisture can lead to a smelly, anaerobic environment.
Compost maintenance is key to success. Turn your pile every few weeks using a pitchfork to aerate it. This speeds up decomposition and prevents odors. Monitor moisture levels and add water if the pile seems dry.
With these simple steps, you’ll be on your way to creating rich, garden-boosting compost in no time!
Common Composting Mistakes to Avoid
I’ve learned a lot about composting over the years. I’ll share some common mistakes I’ve made and how to fix them. Avoiding these errors will save you time and improve your compost for the garden.

Improper Moisture Levels
Incorrect moisture is a big issue in composting. Your pile should feel like a damp sponge. If it’s too dry, add water. If it’s too wet, mix in dry brown materials like leaves or shredded paper.
Lack of Aeration
Without enough air, your compost can smell bad and break down slowly. Turn your pile every few weeks with a pitchfork to add oxygen. This easy step can fix many composting problems.
Incorrect Material Mix
It’s important to balance green and brown materials. Too many greens (like food scraps) can make your pile slimy and smelly. Too many browns (like dry leaves) will slow down decomposition. Aim for a mix of about 3 parts brown to 1 part green materials.
By fixing these common composting mistakes, you’ll make better compost for your garden. Remember, composting is a learning process. Don’t get discouraged if you run into problems. With practice, you’ll become a composting expert in no time!
Troubleshooting Your Compost Pile
I’ve faced many composting challenges, but I’ve found simple solutions. Let’s look at common problems you might have with your compost pile.
Bad smells can be a big problem. To control odors, I add more dry leaves or shredded paper. This helps balance the green materials and cuts down on smells.
Pests can be a bother in your compost. To keep pests away, avoid adding meat, dairy, and oily foods. Covering new food scraps with dry materials also helps keep pests out.
If your compost is breaking down too slowly, don’t worry. Here are some ways to speed it up:
- Chop materials into smaller pieces
- Turn the pile more often
- Add a nitrogen-rich activator like coffee grounds
- Keep the moisture right – damp, not wet
Composting takes time and patience. With these tips, you’ll make rich, healthy compost for your garden.
Accelerating the Composting Process: Tips and Tricks
I’ve found some fast composting techniques that really work. They make rich, nutrient-packed soil quickly.
Chopping Materials Smaller
Chopping your compost materials into smaller pieces is an easy trick. It gives microbes more surface area to work on, speeding up the process. I use a lawn mower for leaves and a sharp spade for fruit and veggie scraps.
Adding Activators
Compost activators are great for quick results. They have nitrogen-rich materials and helpful microorganisms. I add activator to each new layer of my pile to start the breakdown faster.
Maintaining Optimal Temperature
Hot composting methods help with faster decomposition. I keep my pile at 135-160°F by turning it often and keeping it moist. This heat kills weed seeds and makes the process quicker. With these tips, I get usable compost in just a few weeks!